- New - A guide to making a Pistol/Gunslinger Build
- New - A guide to making a Melee Build
- New - Scav Magazine - All locations and details
- For New Players - Read the walkthrough.
- New - Open Season
- New - Power Play Quest
- New - Raider Outposts
- New - Nuka World Endings Guide - Options and Benefits
- The Grand Tour
- Faction Perks and New SPECIAL Ranks in Nuka World
- Gage (Companion)
Fallout 4 Nuka World Quests
Boss Fight: Overboss Colter of Cola Cars Arena
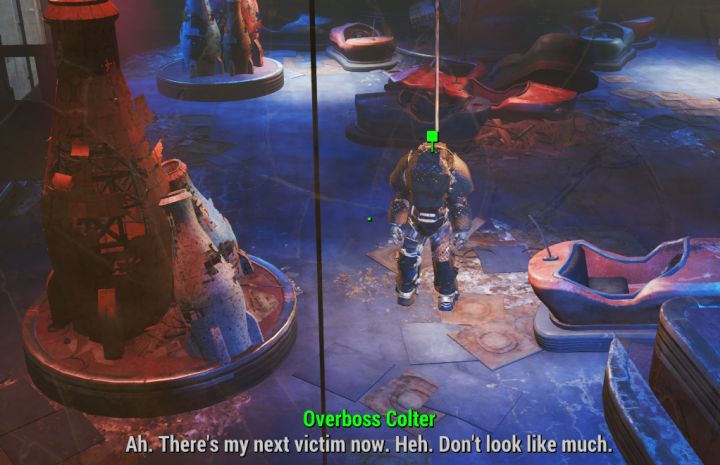 Overboss Colter is the final boss of The Gauntlet
Finishing the Gauntlet: Cola Cars Arena
Talk to Gage on the Intercom after you're let into the locker room. He's actually not happy the fight is rigged and willing to offer you some advice, as otherwise the fight may be unwinnable. He tells you of a weapon he stashed in the locker room and your quest marker should update to a locker in the corner.
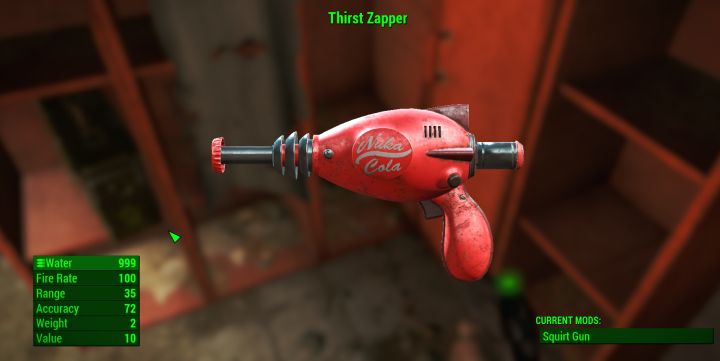 The Thirst Zapper doesn't look like much, but is key to the winning the boss fight against Colter
The Thirst Zapper
You'll receive a thirst zapper, an unique Nuka Cola gun that initially fires water. Given the Overboss's suit is powered by electricity, we can see where this may be headed. Heal up, prepare yourself, and talk to Gage once more on the intercom.
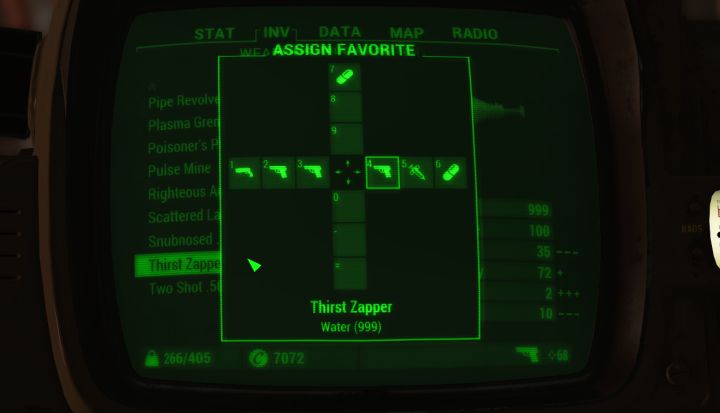 Favoriting the Nuka Cola gun is important, you're going to need to use the Thirst Zapper at least 5-6x on normal-hard difficulty.
Before you enter the arena itself, put the Thirst Zapper on your favorites so that you can easily switch weapons. This is largely a short-range fight, so keep that in mind.
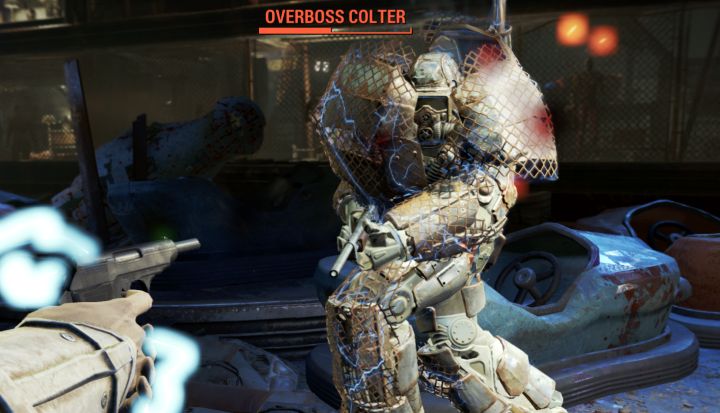 When the Overboss is electrified, he cannot be damaged. Watch for it to come back, when at full strength he'll take 0 damage.
Boss Fight: The Overboss
The boss is fairly straightforward, but on very hard he was quite the tank. It took an incredibly long time to whittle him down compared to most 'boss' fights in Fallout 4. Not quite as long as the boss fight with The Mechanist, but close.
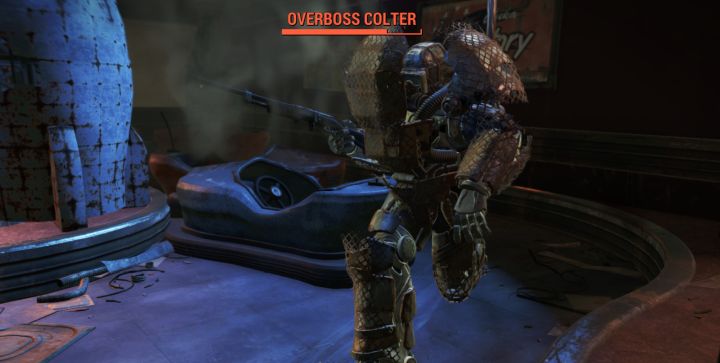 No electricity means no shield. Use conventional weapons, anything but a squirt gun at that point. He has equal energy/ballistic damage resistance.
His damage resistance is in the 1200 range at level 50, as you might expect. This is not reduced by using the Thirst Zapper, it merely takes away his electrical buff that makes him completely impervious to damage, even critical hits.
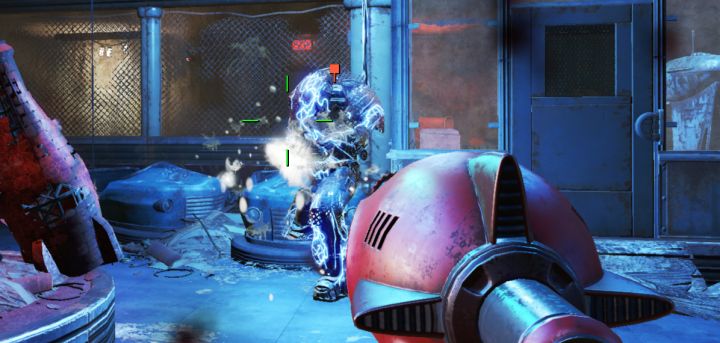
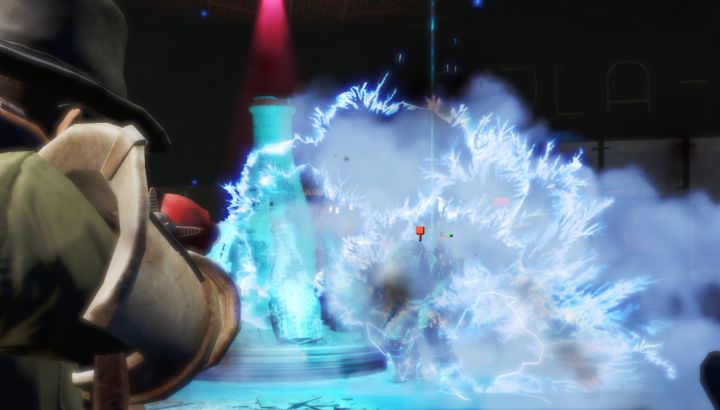 When power is running to the suit, he's invulnerable. Make Overboss Colter feel pain by using the squirt gun on him.
It takes 4-7 shots with the thirst zapper to bring the Overboss' shield down. It's very random and may be down a few seconds or even longer. Do not use VATS for this, save that for when the shield is down to slow time and give you more time to lay into him. For the most part you'll have to go for body shots but should direct critical hits to the head. I actually found that his legs had the highest hit chance in VATS, they were almost never covered.
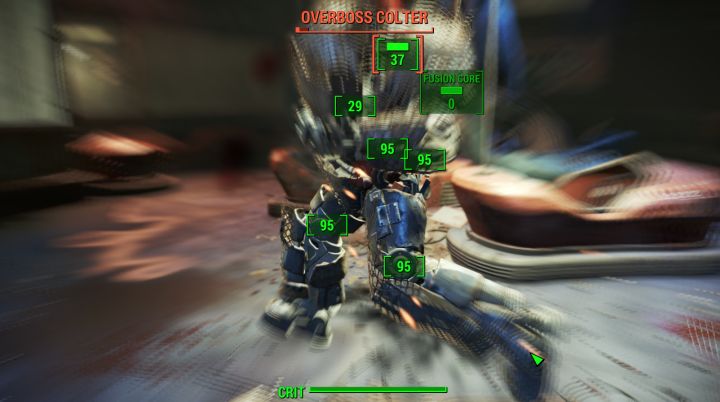 His weak point is his head, of course, but it's a difficult target even with VATS. Better to save crits for head shots for this reason, they do double damage as you'd expect.
The fight follows a rhythm because of this shield. Bring it down, damage him, and bring it down again. He throws grenades, but his weapons are not very tough. He's just a tough nut to crack. Once Overboss Colter's growing weaker, the announcer's dialog will change a bit which makes the fight more exciting.
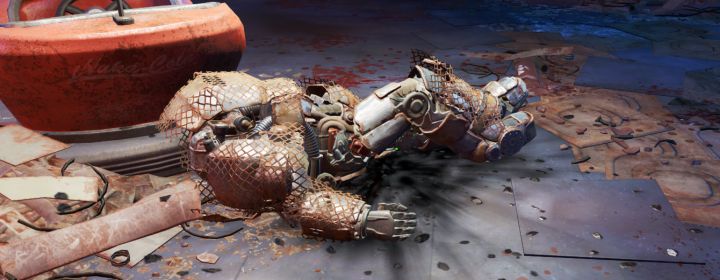
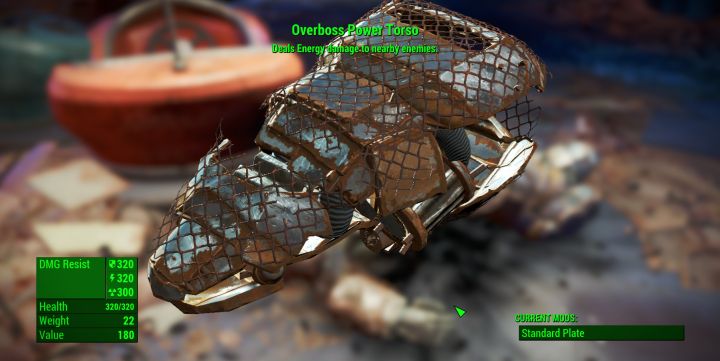 Now you can loot the Overboss Power Armor from Colter, along with his legendary Overboss Power Torso. It's actually quite good and has a nice look, modify it to your liking.
Overboss Power Armor
Finish him off and you'll be rewarded with his Power Armor (minus a frame). The chest piece is legendary and deals energy damage to enemies that get close. This power armor is as powerful as X-01 Power Armor, only it has more energy resistance than that set. Overall, it's an amazing reward.
You're the Boss!
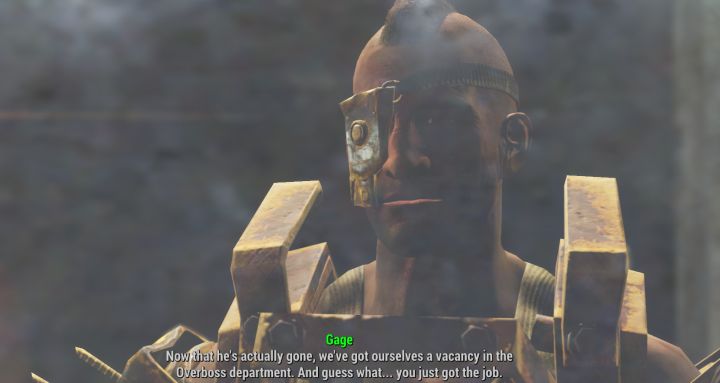 The Overboss is dead, so you're the Overboss now. Raider chain of command passes to the strongest.
Because of your victory, the attendees start calling you boss. It's time to speak to Gage and find out what was up with that long, ridiculous (but fun) gauntlet and everything you've gone through. In case you wonder, you can talk to him through the window. He'll then open the door. I guess people might be a little leery of you after what you had to deal with to get here, and think you might kill them.
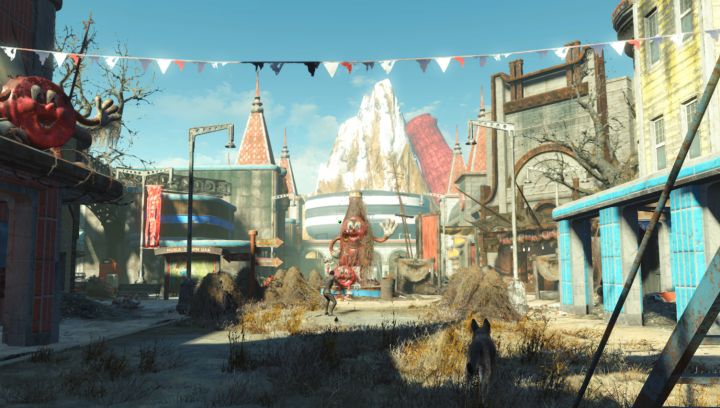 Fizztop Mountain, the super evil location of your leader office.
Fizztop Mountain: Your HQ
Has a great ring to it, very dark. You shouldn't bother looting anything other than the power armor from Colter, looking around this place was typical junk. Follow the quest markers on to the Overboss' Quarters. You're now leader of the Raiders at Nuka-World, and you've got quests to pursue! Be sure to speak to N.I.R.A. and some of the denizens of this settlement along the way.
More Fallout 4 Guides
Share Tips and Strategies Below
- Raider Outposts in Nuka World
- Nuka World - Play as a Raider in this DLC
- Far Harbor - Learn about the DLC, its secrets, and read walkthroughs
- Automatron - Guides to building bots and quest walkthroughs
- Settlements - An in-depth guide to Settlements and managing them
- Melee Build - the best perks for a melee character
- Sneaking - Learn to be stealthy
- Critical Hits - Shots to Crit and Crit damage mechanics
- Tips for Making a Build - General advice for creating your own build
- Action Points - AP and all the things that affect it
- VATS - all about the V.A.T.S. and AP usage on weapons
- Gameplay Tips - pointers that will help new players
- Making a Sniper Rifle Weapon mod examples. Heavy hitter and fast-firing Comparison - two guns from the same base.