- New - A guide to making a Pistol/Gunslinger Build
- New - A guide to making a Melee Build
- New - Scav Magazine - All locations and details
- For New Players - Read the walkthrough.
- New - Open Season
- New - Power Play Quest
- New - Raider Outposts
- New - Nuka World Endings Guide - Options and Benefits
- The Grand Tour
- Faction Perks and New SPECIAL Ranks in Nuka World
- Gage (Companion)
Fallout 4 Mass Fusion
Choices - Finishing with Institue or Brotherhood
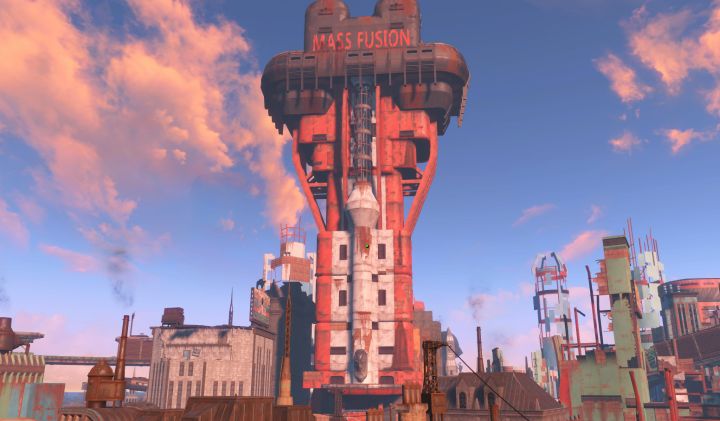 The Mass Fusion Building in Fallout 4
The Mass Fusion Quest takes part after Makind-Redefined when pursing the Institute Quest line. It is a moment of decision-making for the player, as if you continue you will get yourself kicked out o the Brotherhood of Steel, who also want the Beryllium Agitator found at the Mass Fusion building. They have a similar version of this quest called, "Spoils of War". Additionally, alerting the Brotherhood will result in you being banished from the Institute, and thus unable to complete the game with that faction. Similarly, doing Spoils of War will result in you being kicked out of the Institute.
 Informing the Brotherhood may be desireable, see the possibilities of doing so below.
Choices
To continue the quest, choose between:
- Continuing: Head to the top floor of the Institute where you first entered (up the main elevator. This is how you 'Relay to Mass Fusion' to complete the quest objective. From there, the quest is fairly straightforward. Power Armor is very useful for this quest due to the need to deal with heavy radiation, though hazmat suits are provided near the reactor area.
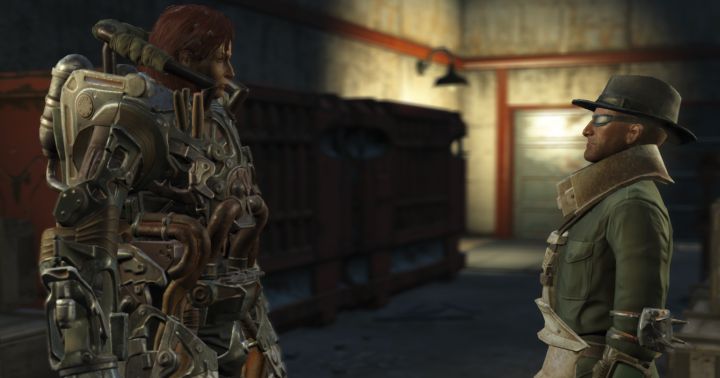
- Inform the Brotherhood: Do this at the Prydwen or Boston Airport (depending where you stand in the BoS quest line), where you'll speak to Proctor Ingram to inform the BoS. This begins their version of this quest (Spoils of War) and banishes you from the Institute, while skipping a few Brotherhood quests along the way. Possibly several.
Getting to this point in the Institute quest line is one way to avoid tough choices you face in the BoS quest line, as you can skip the quest Blind Betrayal as well as Tactical Thinking, both of which will potentially permanently remove you from a faction and/or strike a companion from your roster. You may want to do this if you'd like to leave more factions intact toward the end of the game. This skips those choices with ramifications on your relationship with Danse and the Railroad.
From here on, I'll assume you've chosen to continue doing this the Institute way, so that you can see the rewards this quest offers and any good things you can find along the way.
Relay to Mass Fusion
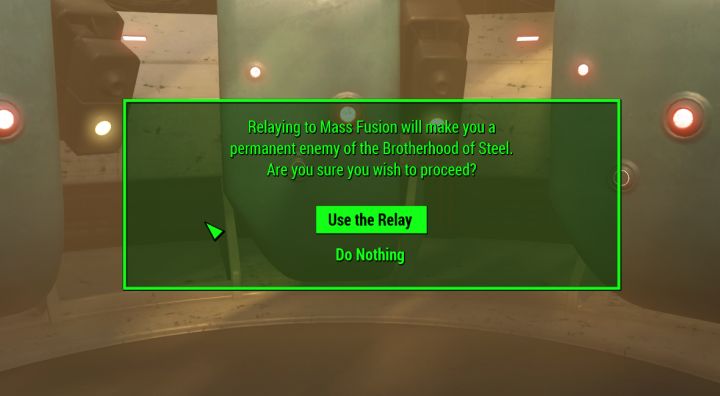 Head to the top level of the Institute to automatically relay to the top floor of the Mass Fusion building. Doing so immediately cuts your ties to the Brotherhood of Steel.
Head to the Institute, then take the elevator directly up to where you first entered. Once you go inside the relay room, you'll be informed choosing to relay will instantly make you enemies with the Brotherhood. From a story standpoint this makes sense, as they want the same thing out of this building and you're helping the enemy. You can choose to back out at that point if you so desire.
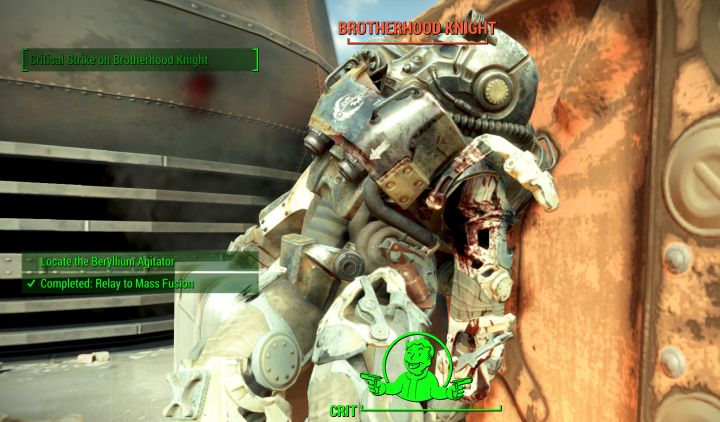 An intense fight begins immediately. There's no shortage of enemies in this building.
Once you relay to Mass Fusion you can expect instant resistance from leveled Brotherhood soldiers, both in and out of Power Armor. Since you may not have fought many BoS in Power Armor if youv'e just now become hostile to them, it can be a challenge given their high armor values. You can use jet to get behind them and target fusion cores, while also using critical hits on the cores so long as you can get the required 1% chance to hit by flanking them. Of course, you can also use head shots as usual.
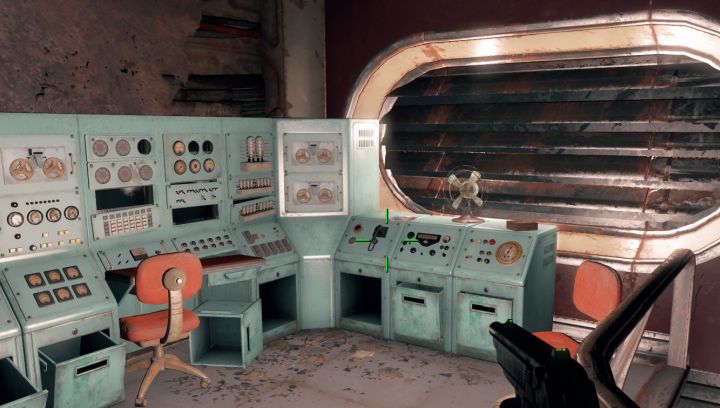
 You'll need the password and key card found in this desk to proceed.
Once the first fighting is done, head inside and up the stairs to this desk to get the executive terminal password and keycard. Jumping across the broken floor will lead you to the room with a large computer, where you can use the executive password to read the first mail and find the Agitator is on the first sublevel of the building. Use the key card reader in the nearby elevator to go down.

 Go up the broken floor and use it as a ramp (you need to jump) and you'll find a Tesla Science magazine on the opposite side.
The Brotherhood will shoot at you as you descend, but you can easily fight back. Kill the weaker members first to lower incoming damage, then focus on any enemies in power armor. They will cut the power and you'll need to finish off the remainder of the ambush.
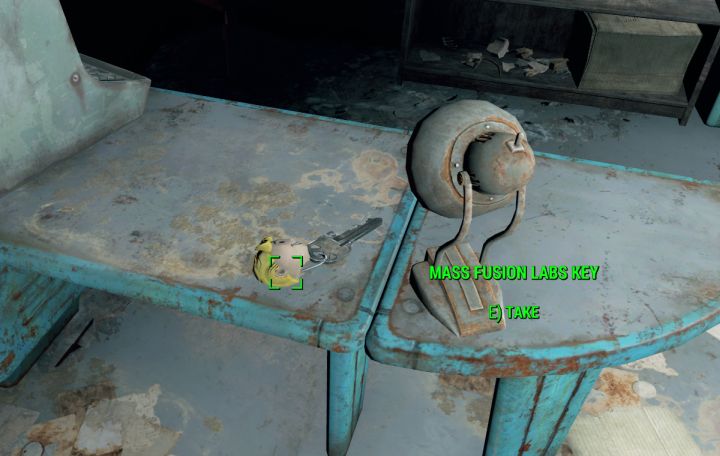 Look for the lab key here. The terminal can be used to restore power and head to the bottom level if you've already got the Strength Bobblehead in a previous visit. Be sure to also get the Tesla Science magazine near this level.
You have three options here: use the expert-level terminal through the door to the right to restore power, head up a broken floor (ramp) to use the fuse box and restore it that way, or get the labs key off the terminal desk to decend the stairwell. Heading up the ramp is a good idea anyway, as you can find an issue of Tesla Science as well as an Expert-level safe that can be picked.
If you've not yet acquired the Strength Bobblehead, you might as well take the door unlocked with the lab key (where you fall down a level) as opposed to the elevator so that you can grab it. It involves some fighting, but you'd have to fight your way up otherwise and it's better to hold the high ground in any fight.
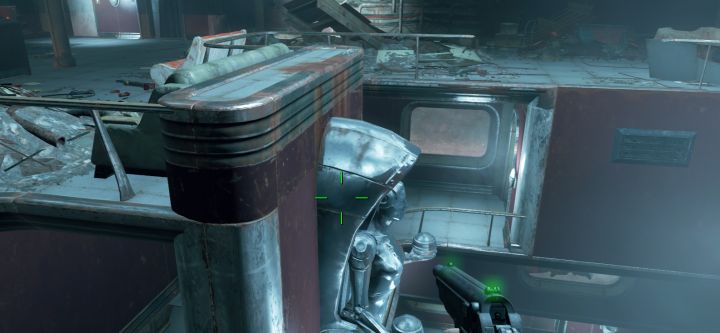 The Strength Bobblehead location is atop this statue. Climb up on the couch and carefully grab it from the statue's head.
If you've taken the lab path down and haven't been to Mass Fusion before, get the Strength Bobblehead from off the back of this statue just after dropping down a level. Climb up the couch and it'll be on top of the statue's head, though I had already grabbed it on a previous trip, it should be there for you!
Open the door marked Mass Fusion Balcony and continue your path downward toward the main lobby, which will require some maneuvering through doors and spotting broken floors to continue. Once you've reached the floor with the large globe statue, you're ready to proceed to the reactor level.
To the Beryllium Agitator
 To the reactor level! Beware high levels of radiation.
Fight to the lobby, and you'll be ready to proceed to the sublevel where the biggest challenges await. Mass Fusion were very good about security and have Sentry Bots, Assaultrons and Protectrons to guard the reactor. There is no fighting initially, but you may want to save in case things go very badly for you.
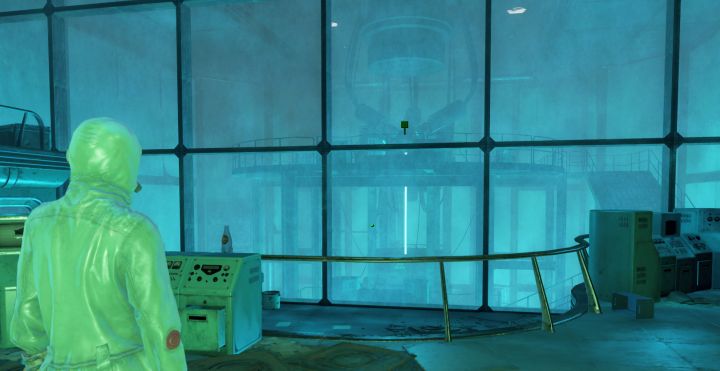
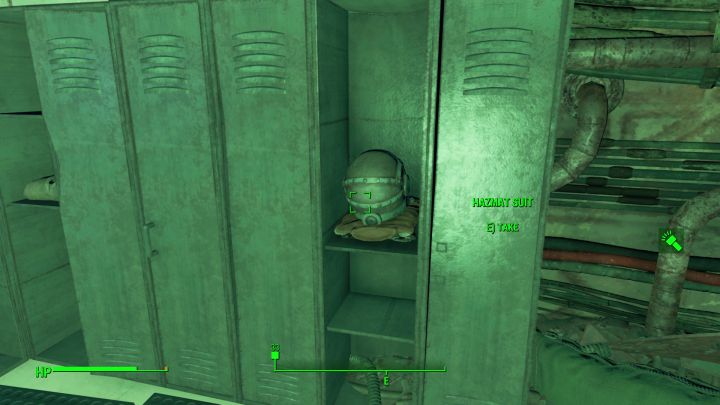 Get a hazmat suit from the locker room unless you're wearing Power Armor.
Before going all the way to the reactor, note that there is high radiation that can kill you. Hazmat suits can be found in the locker room if you take the stairs down to the left. Do not drink the water here, either as it is highly irradiated and not worth it. If you talk to Allie Filmore here, she will give you two Rad-X if you tell her you do not have radiation protection. Since they're useful, there's no harm in a little lie. Rad-X increases radiation resistance by 100 for 3 minutes and is stackable, meaning you can pop 4-5 if you like and get 400-500 radiation resistance. Don your hazmat suit, or proceed normally if you have Power Armor.
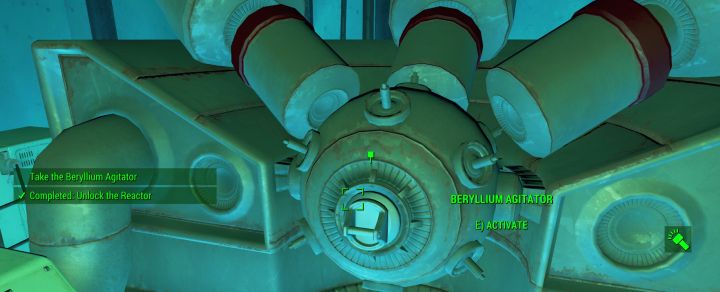 This reactor in the Mass Fusion building houses the Beryllium Agitator you need for the quest
When you pull the Beryllium Agitator from the reactor, alarms will go off and the robotic security will kick into full gear. Head back out to the decontamination room, and when the cleaning is complete and you can exit, take off the hazmat suit immediately unless you're wearing Power Armor.
 While the Sentry Bot is a challenge, the Assaultrons can be worse. Aim for the legs to make the fight a bit easier. Do NOT aim for Assaultrons' heads. It deals LESS damage.
After a tough fight with a Sentry Bot, two Assaultrons, Protectrons and turrets, you should be free to leave. To deal with Assaultrons in such close quarters is not easy - aim for the legs to take them to the ground, and avoid head shots as they take much less damage (33%) when shot in the head. Their weak limbs are the go-to for dispatching them quickly. The Sentry bot is a pain, but Ally Filmore may tank it for you, allowing you to - again- focus on the limbs. Do NOT be near to it when you deal the finishing blow, because they detonate when destroyed and it's like a mini-nuke.
With the Agitator in hand, you can now proceed back to the lobby. It's likely Synths and BoS will be fighting it out - I'd take the chance for some extra kill XP and ammo, especially if there's a Legendary Enemy among the Brotherhood. You can simply exit if you like and return to the Institute to complete the quest.
More Fallout 4 Guides
Share Tips and Strategies Below
- Raider Outposts in Nuka World
- Nuka World - Play as a Raider in this DLC
- Far Harbor - Learn about the DLC, its secrets, and read walkthroughs
- Automatron - Guides to building bots and quest walkthroughs
- Settlements - An in-depth guide to Settlements and managing them
- Melee Build - the best perks for a melee character
- Sneaking - Learn to be stealthy
- Critical Hits - Shots to Crit and Crit damage mechanics
- Tips for Making a Build - General advice for creating your own build
- Action Points - AP and all the things that affect it
- VATS - all about the V.A.T.S. and AP usage on weapons
- Gameplay Tips - pointers that will help new players
- Making a Sniper Rifle Weapon mod examples. Heavy hitter and fast-firing Comparison - two guns from the same base.
Share Tips and FAQs (1)
Join In