- New - A guide to making a Pistol/Gunslinger Build
- New - A guide to making a Melee Build
- New - Scav Magazine - All locations and details
- For New Players - Read the walkthrough.
- New - Open Season
- New - Power Play Quest
- New - Raider Outposts
- New - Nuka World Endings Guide - Options and Benefits
- The Grand Tour
- Faction Perks and New SPECIAL Ranks in Nuka World
- Gage (Companion)
Fallout 4: Mister Sandman
Mechanics & Powerful Crits in Combo with Ninja
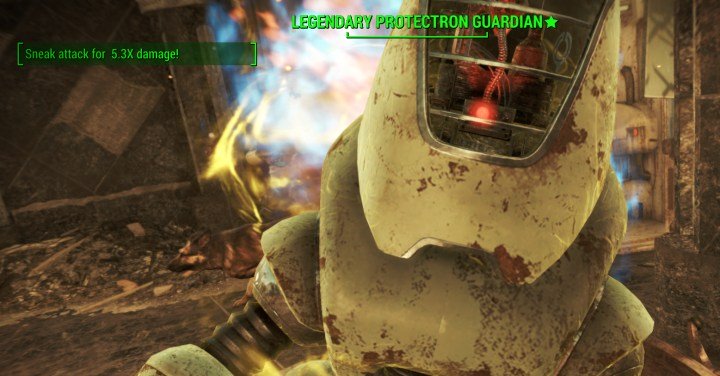 Mister Sandman stacks with the Ninja Perk to give you massive damage boosts on sneak attacks.
Mister Sandman is easily one of the better Perks for a sneaky build in Fallout 4, though its primary mechanic only works for ranged characters as you cannot put suppressors on melee weapons. My initial impression was based on bad math and that you won't catch many enemies sleeping in the game - the increased sneak attack damage is the main draw here. Here are the three ranks of Mister Sandman and the level requirements/Perk ID:
| Mister Sandman Perk | |||
|---|---|---|---|
| Rank | Requires | Perk Description | Perk ID |
| 1 | Agility 4 | As an agent of death, you can instantly kill a sleeping person. Your silenced weapons do an additional 15% sneak attack damage. | 4b258 |
| 2 | Level 17 | Your silenced weapons do an additional 30% sneak attack damage. | 1d2490 |
| 3 | Level 30 | Your silenced weapons now do 50% more sneak attack damage. | 1d2491 |
 Gameplay Effects & Utility
The sleeping bonus is good and all, but it's rare to catch raiders sleeping, so it's really a side attraction. Mister Sandman stacks additively with the Ninja Perk, which changes the base sneak attack multiplier from 2 to 2.5x, 3x, and 3.5x for ranged weapons. This is great in itself as it doesn't require a suppressor to be on the weapon, but with Mister Sandman you'll definitely want at least one silenced weapon - usually a rifle or pistol.
Taking Ninja first is wise, because it does not require a silencer and Mister Sandman gives smaller increases to damage per level. Ninja 1 will give you 2.5x, while Mister Sandman 1 will give you 2.15x damage.
At one point, this Perk stacked multiplicatively, but now it does not matter the order you take these Perks. You can go Ninja > Mister Sandman and gradually increase your damage until you're eligible for Rank 3 Ninja at level 33. What still matters as of patch 1.4 is Deacon's Cloak and Dagger Perk will still stack multiplicatively with these, so it's best to get all 3 ranks in Ninja and Mister Sandman before reaching max affinity with him. In doing so, you can reach 4.8x damage.
As for melee users not getting this bonus, they don't really need it. Ninja gives a 10x boost so their damage output is amplified a lot already, based on their need to get quite close (without Blitz) in order to execute a melee sneak attack.
Mister Sandman is highly recommended in a Sniper Build where it can truly shine, as nearly any ballistic sniper rifle can have a suppressor attached. Even Gauss Rifles, which can be boosted well into the 400s in terms of paper damage.
More Fallout 4 Guides
Share Tips and Strategies Below
- Raider Outposts in Nuka World
- Nuka World - Play as a Raider in this DLC
- Far Harbor - Learn about the DLC, its secrets, and read walkthroughs
- Automatron - Guides to building bots and quest walkthroughs
- Settlements - An in-depth guide to Settlements and managing them
- Melee Build - the best perks for a melee character
- Sneaking - Learn to be stealthy
- Critical Hits - Shots to Crit and Crit damage mechanics
- Tips for Making a Build - General advice for creating your own build
- Action Points - AP and all the things that affect it
- VATS - all about the V.A.T.S. and AP usage on weapons
- Gameplay Tips - pointers that will help new players
- Making a Sniper Rifle Weapon mod examples. Heavy hitter and fast-firing Comparison - two guns from the same base.
Share Tips and FAQs
Nothing yet.Join In